Innovation in Installing Sprinkler
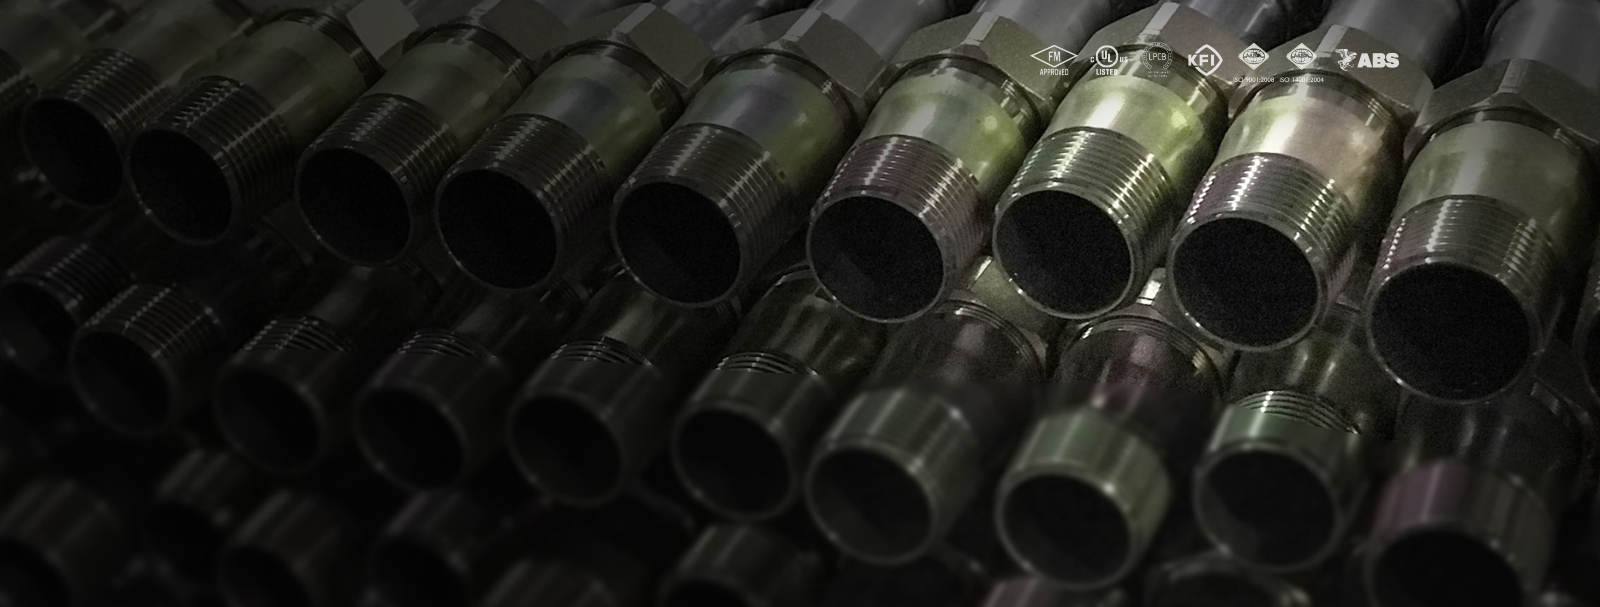
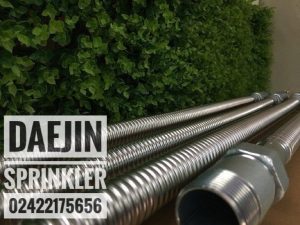
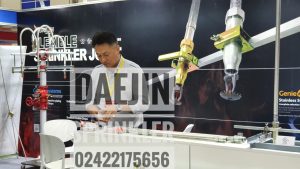
 Genie systems flexible drop enhances work efficiency by 70-80% compared to conventional piping. We designed anchoring parts specially to allow for an easy and problem free installation even when the task is performed by an unskilled installer in a very restricted space.
Free of problem : Genie systems flexible drop will give answers to the various problems arise from installing flexible drop in the suspended ceiling.
Satety : One of the crucial factor in of Flexible drop’s performance is the shape of Gasket which has very important role in connecting the Flexible drop to its inlet and outlet reducer.
 Ring type gasket can be damaged while connecting the inlet or outlet reducer to the flexible hose. It can be twisted and the twisted Ring type gasket will make uneven contact to the hose and inlet, outlet reducer and become the cause of leakage in the long term. Genie systems designed the Flexible drop safe in any circumstances.
Genie systems flexible drop hasn’t just passed UL and FM test. Genie systems test it’s products everyday by the standard of UL and FM in the Lab.
How to install
Your wish is my command
Genie Systems has been developed the most innovatiove clamps which become the world standard in installation of sprinkler. Genie Clamps will take care of all the trouble in installing of the hose in the ceiling.
- Save up to 60%Installation time with Genie systems fittings
- No Screw Driver, Fastener needed!No tools needed.
- One Click SystemNo trouble to fasten bolts or nuts in limited space of ceiling by hand
- Easy to Re-install, Easy to AdjustEasy to understand in installing
Genie will provide you with whatever wish you have.
Installation instructions
A. Connecting the Reducer
Disconnect the Reducer by turning the Nut (not the Reducer) from the Flexible Sprinkler Hose. Check that the Gasket and the Isolation Ring are properly in place. Reconnect the Reducer to the Flexible Sprinkler Hose by turning the Nut. Two open-ended spanners (or adjustable wrenches) should be used to tighten the Nut closely to ensure the leak-proof connection. Recommended torque for the work is 300 kgf.cm ( Figure 3 ).
 Figure 3
C. Connecting the square bar on the Ceiling Structure.
a) Join the two End brackets and the Middle bracket to the Square bar and place the End brackets properly on the aimed ceiling structure as shown in the picture. (Fig 5) (The maximum distance between two End brackets is 1500 mm and minimum 600mm) b) Fasten the Wing bolts on the top of the End brackets tightly. Recommended torque for this work is 15-20 kgf.cm(Figure 5) . c) Push the End brackets into the ceiling structure rail and check that the End brackets sit on the ceiling structure properly. d) Fasten the Wing bolts on the side of the End brackets. Recommended torque for this work is 25~30 kgf.cm
 Figure 5
B. Connecting the Nipple to the main piping system of the building
Disconnect the Nipple from the Flexible Sprinkler Hose. Assemble the Nipple to the main piping system of the building with normal sealing procedures and tighten it closely to ensure a leak-proof connection as shown in the picture (Fig 4). Recommended torque for this work is 950~1,000 kgf.cm. Check that the Gasket and the Isolation Ring are properly placed at the end of the Flexible Hose. Connect the Flexible Hose to the Nipple by tightening the Nut closely. Recommended torque for this work is 320 kgf.cm
 Figure 4
D. Installing the Reducer to the Middle bracket.
Open the Middle bracket cover and position the Reducer inside the Middle bracket properly. Close the Middle bracket cover and fasten the Wing bolt firmly. Recommended torque for this work is 25~30 kgf.cm1 (Figure 6)
 Figure 6
Specification

Technical Data
| Temperature | 225 oF | |
|---|---|---|
| Working pressure | 175 psi | |
| Maximum Bend Radius | 4”(UL type), 8”(FM type) | |
| K-Factor | 1/2” Outlet | 5.6 gpm (UL, FM model) |
| 3/4” Outlet | 11.2 gpm(UL), 8.0gmp(FM) | |
| Diameter of hose | UL listed unbraided hose | 25.0 mm |
| UL listed braided hose | 26.8 mm | |
| FM listed braided hose | 26.8 mm | |
| FM listed braided hose | 28.0 mm |
Friction Loss data (Unbraided type hose – UL listed, ULC listed)
| Length | Nominal Inlet by Outlet Size,in. | Assembly Length, (units) |
Max No. of 90° Bends |
Min Bend Radius (units) |
Equivalent Length of 1 in. Schedule 40 Steel Pipe (C = 120), ft |
|---|---|---|---|---|---|
| 700 | 1/2”, 3/4” | 700 | UL (1), FM (1) | 100 | UL Type (24, 30) FM Type (17.9, 14.4) |
| 1000 | 1/2, 3/4” | 1000 | UL (2) FM(1) | 100 | UL Type (44, 48) FM Type (22.2, 18.3) |
| 1200 | 1/2, 3/4” | 1200 | UL (2) FM(4) | 100 | UL Type (49, 55) FM Type (37.0, 32.8) |
| 1500 | 1/2, 3/4” | 1500 | UL: (2) FM(4) | 100 | UL Type (59, 64) FM Type (45.5,43.2) |
| 1800 | 1/2, 3/4” | 1800 | UL (3) FM(5) | 100 | UL Type (84, 86) FM Type (63.0,58.7) |
Fature
| Length | 700,1000,1200,1500,1800mm | |
|---|---|---|
| Reducing nipple Dia | 1/2”, 3/4” NPT or BSPT (Straight or 90 degree elbow) | |
| Type | Unbraided | UL certificate |
| Braided (ø 26.8) | UL and FM approval | |
| Braided (ø 28.0) | FM approved | |
Brachet and Parts
Genie has developed many kind of innovative bracket design which become world standard. This open type bracket can solve all kind of issue which arise while installing of flexible dropper in the ceiling.

Genie Brackets – Open type
By removing trouble fastening volts using tools or hands, Genie bracket made whole installation easier and faster than any installing system in the world.
Openess : Genie new bracket design will adopt the redecer (outlet) of flexible dropper from all direction.
Pre-assemble sprinkler haed : Pre – assembled sprinkler head to the flexible dropper which will make whole installation fast and convevient can be fit
One snap locking system : Genie new design romoved all installation work so simple. The worker will complete installation simply by clicking handly of the brackets. And it will enhance the work efficiency 100% than usuall bracket system which has nuts for fixing.

Genie dropper parts
Genie dropper supply all kinds of parts related to flexible dropper installation.


